26 December 2017

Morphe Complexion Goals Brush Set


The Internet went crazy over Kylie Jenner charging an extortionate amount for her makeup brushes. With people now taking more of an interest into the price and quality of brushes on the market I thought it would be a good time to review the Morphe face complexion brushes I got for Christmas. 

The set includes 5 brushes and comes with a rose-gold bag to keep them in. The brushes themselves all have rose-gold handles, which is an instant win for me. I tried all the brushes out whilst doing my Christmas day makeup to here's my first impressions:

Pro Flat Buffer Brush
I am a sponge kind of girl when it comes to applying my foundation so I knew when trying this brush it probably wasn't going to be a winner for me. And I was right. I'm so disappointed with this brush. Maybe it's because I am so used to applying with a sponge, but the finish seemed quite streaky and uneven. I found it was difficult to apply the foundation and it was taking away the coverage. The brush is soft though and worked better in a stippling motion rather than circular motions. I'd rate this brush a 2/5.

Precision Pointed Power Brush
Next I used this brush to set my foundation under my eyes with translucent powder. This brush was much better, I really liked it. It was nice and soft around the eye area. It was able to pick up a nice amount of product and apply evenly. I'd give this brush a 5/5.

Deluxe Angle Brush
I then went in with this brush to contour my cheek bones. This brush was good, but I felt like you had to go into the powder a few times for it to pick up enough product. It applied smoothly and again, the brush was super soft. It did the job so I'd give it a 4/5.

Deluxe Pointed Contour Brush
Personally, I found this brush too big to contour my cheeks with as I prefer a more precise look. So I used this brush to contour my forehead and and jaw line. I'd probably use this brush to apply blush with as well. This brush is reaaaally soft! It feels really nice on your face and applies powder with little effort. I'd rate it a 5/5.

Deluxe Highlight Fan Brush
Finally, I used this brush to highlight. I really enjoyed this brush. It applied the highlighter really nicely to the skin and it picked up the right amount of product. Definitely 5/5.


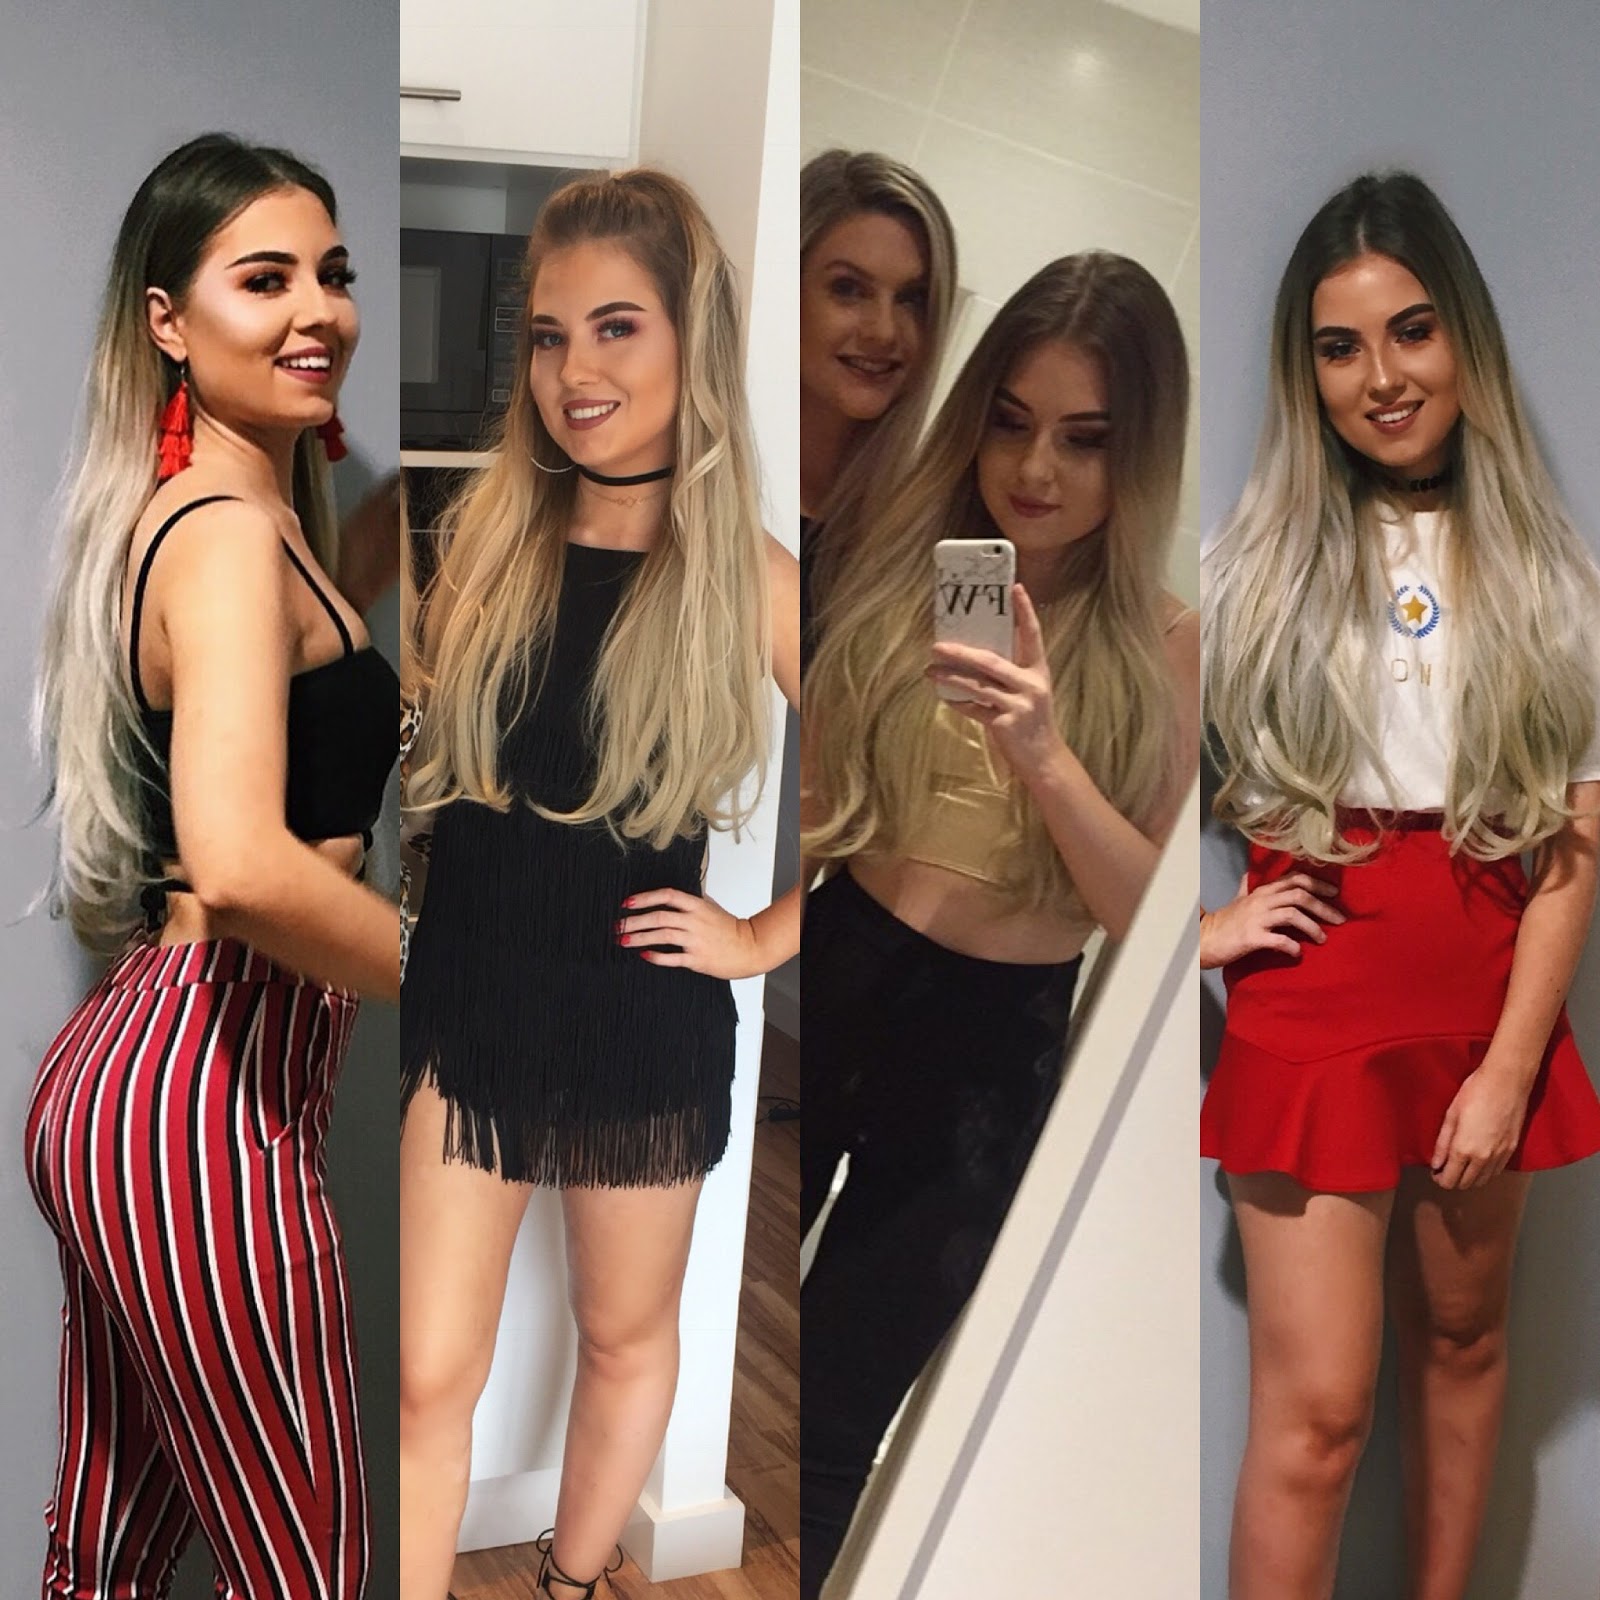
This was the final look!

The brushes are available on Beauty Bay & Morphe UK website. The set retails for £25, which I think is a super fair price. 

30 November 2017

LullaBellz Hair Extensions Review


I loved having a weave but my hair needed a break so I decided to get clips ins just to wear on nights out when I want some extra glam to my look. I’d seen LullaBellz on social media for a while so thought I’d give them a go when I saw they were doing a discount and they’re super cheap. I didn’t want to pay a lot because I’m still undecided as to what I’m doing with my hair yet. I took the risk and matched the hair colour myself and they arrived quickly. Although, they do offer a hair colour matching service but I didn't agree with the colour they matched me too.

When they came i was sooo surprised with how soft and real they felt. The hair is synthetic which I’ve never had before as I’ve always opted for human hair. Sometimes synthetic hair can look plastic but these ones looked glossy like real hair. LullaBellz have many lengths and styles. I have the 22” wavy style. They have a lot of shades too, I have the shade light golden blonde. The style I chose comes with 5 pieces, which is 280g of hair. Now, I have a big head but even I find this to be sooo much hair to have on. I usually wear 3 of the wefts at one time. But it just depends on the look you're going for.

Wear wise, they can feel quite heavy on your head if you’re not used to extensions but it’s fine. They’re very easy to clip in and the clips are sturdy and stay in place. One negative I have to say is that because the hair is synthetic they can become very knotted, especially on a night out when it’s hot and drinks can be spilled. After wearing mine out a few times i did get a lot of drink on them so i decided to wash them (which you can do!) with warm water and conditioner. I also put an argon oil hair mask on the ends and where the most knotting was. I was so surprised at how well they came out after washing them. The waves stayed in the hair and they dried quickly. You can use heat on them up to 180C but I would try to avoid to as much as you can. Since washing them they’ve been a lot less knotted. 

I would definitely recommend these if you want extra hair just to wear on special occasions or nights out. I don’t think they would be good if you want to wear them every day! 

These images are to show you what the extensions look like in different edits and lighting.

Buy here: https://www.lullabellz.com/hair-extensions/5-piece-1 

16 October 2017

Liz Earle Skincare Review

As I mentioned in my July Favourites post I have been enjoying the Liz Earle skincare range. I started to use it at the beginning of July, but wanted to give it a proper trial run before reviewing it on my blog. I am super late posting this than planned, but I've been using the range for 3 months now so this review will be pretty solid.

I've been using the hot wash facial cleanser followed by the tonic water.


I decided to invest in a decent skincare range as my skin had become pretty grim. This had a lot to do with stress from uni and bad eating habits. I tried to do a bit of research before choosing the right skincare brand. I suffer from eczema and really sensitive skin so I wanted to use a line with more natural ingredients. The Liz Earle collection had great reviews so I purchased. 

I cleanse, then tone every morning and every evening. You apply the cleanser with your hands and massage into your face then remove with a hot muslin cloth. I then proceed with the toner on a cotton pad to finish. It leaves your skin feeling soft and tight. I found when I did it in the morning my make up applied much better afterwards. There's been such a difference in my skin. I'll insert a picture below showing the difference after around a month and a half. 


You can see it has taken a lot of the redness away and there is a much smoother finish to my skin. I'm pretty impressed with the results! I've since been using the line for a few months after this and my skin has almost completely cleared up.


The Liz Earle collection is a little on the pricey side, but I think investing in good quality skincare is a must. I purchased mine from http://www.feelunique.com/ and used my student discount from UniDays! Cleanser starts at £14.50 and the tonic £15. You can check out the full range here: http://www.feelunique.com/brands/liz-earle?q=LIZ+EARLE 


1 September 2017

5 Tips for Moving Away to University


September has quickly come upon us, so many of you will be moving away to university, and some of you for the first time! Since I'm going into my 4th year of uni, I reckon I am pretty experienced enough now to give some advice. So here's my top 5 tips on how to deal with those first few nerve-racking weeks:


Tip #1: Be yourself

I know this is probably super obvious, but it'll really help you out in the long run. When you move away you are suddenly surrounded by all these different types of people and it can be hard fitting in. Don't try and change yourself so that you'll fit in with a certain group of people. Be yourself and you'll find the people that you click with. If you pretend to be someone you're not it'll start to show after a few weeks and people will be able to see through it.

Tip #2: Get out of your comfort zone

I cannot stress this tip enough. A mistake I made in my first couple of weeks was I only made friends with the people that I lived with and didn't venture out to make other friendships elsewhere. Because I was so shy I didn't speak to anyone on my course, so everyone else formed friendship groups and I didn't. Just remember, everyone is in the same boat as you, and it really isn't embarrassing to introduce yourself to a few people and get a conversation going. The earlier you do this the better. Also, if there are open flat parties going on in your halls GO! This is the best way to meet people and make friendships. 

Tip #3: Make sure you like your course

This is so important. You're about to spend the next 3-4 years studying this subject so you need to be 100% sure it's for you. Even before I moved away I was having doubts about the course I had chosen. But instead of going with my gut I listened to other people and enrolled on. You are not actually fully registered onto the course until a few weeks after you start (I believe it is once you pay your first round of student fee's). So use the first few weeks to test out the course, because you can switch course within the uni if you realise it's not quite right. Because I didn't turn up to a lot of my first few inductions and lectures, by the time I realised I didn't like the course it was too late for me to change. I know the last thing you'll want to do with a stinking hangover is turn up to an induction, but make sure you do!

Tip #4: BUDGET!

You probably hear this all the time, and like me, roll your eyes. I worked all summer to save up to go to uni. I spent almost all those savings in the first 2 months. It's so exciting moving away and having all of this independence and it can be easy getting carried away. The key to not getting deep into your overdraft is monthly budget. Firstly look at how much money you have for the whole year, then try and equally split into a monthly budget. Set aside that monthly allowance in your current account and then put the rest into savings. That way it'll be easier to keep track of how much your spending rather than having a big sum of money in one account.  

Tip #5: Feeling home sick is normal

I personally didn't get home sick, but there were plenty of times when I wished I had my mum around me. After the first week of freshers fun and the flu kicks in everything can suddenly become overwhelming when you realise this isn't a holiday. If you begin to feel home sick try and hold off from going home for the first few weeks as you're still settling in. Going home from early on can create a pattern and make settling in even harder. Don't hold in how you feel. Speak to your family over the phone and Skype them. Make sure you tell your uni friends how you feel so that they can help. The more you talk about it the easier it will be, because remember everyone is in the same boat. Try and get yourself into a routine as quickly as possible. 


4 August 2017

JULY FAVOURITES

July was a good month. I went to Ibiza and got some fab new products! Heres a few... 

Maybelline Fit Me Foundation


Now, where has this foundation been all my life? I am gutted I didn't try this foundation sooner. I've been trying different foundations for a while now, I like to wear drugstore in the day and high end on a night out. I didn't even mean to buy it. I travelled (yes, I live in Wales so I have to plan and travel when I need to buy make up) to go and buy a L'Oreal foundation but they didn't stock it. So that I didn't feel like I'd wasted a trip I saw the Fit Me foundation with 'matte' on the front, which is what I'm ALL about, so I bought it. This foundation is super good if you have oily skin. The coverage is medium but you can build it up to full. Because I'm really oily I find it hard to find foundations that don't separate on my skin or just slide off. I wear this foundation to work, where I can work up to 12 hours a day, and this foundation doesn't move! It's easy to blend with a sponge and feels light on the skin. 


Price: £6.98


Mario Badescu Facial Spray


I saw Holly Boon say that this is just as good if not better than MAC Studio Fix+ so I was like, I have to try. I love to spray this on my skin when I've got no make up on. It's so incredibly refreshing and moisturising. I like to spray my Real Techniques sponge with this before I apply my foundation. Because I use only matte foundations this really helps add some moisture back to my face. If I'm doing a super matte look for a night out using a lot of powder to set then I use the spray when I've finished doing my make up and it helps get rid of any cakey-ness. 


Price: £7.00


Liz Earle Skincare


I'm going to do a separate post about my skincare routine, but I had to mention it here. I know it's bad but I've never had a skincare routine before. Mainly because I've never really had bad skin, but I've finally realised how important it is. This skincare line is amazing for all skin types. I use it every morning and night and it has helped clear up my skin in the last few weeks. 


Price: Cleanser £14.50 / Toner £15.00


NYX Mineral Foundation Stick


I'm obsessed with this product. I've been telling everyone about it because I think everyone needs it in their life. It's changed my contour game for sure. It is a foundation stick, so you could use it as that, but I buy it in a much deeper shade than my skin tone to use it as a contour stick. This blends SOOOO well. It's so creamy and light on the face, it makes your contour look flawless. I found it hard to find a shade that I thought would be right, but I think what I'm using now looks good. I would definitely recommend going and trying the shades first before buying. 


Price: £11.50


Love Island Water Bottle


Just like almost everyone else in the country I have been obsessed with Love Island. I got my hands on the personalised water bottles and I love it. It's good because there's a compartment where you can add fruit into it to infuse the water. It is also a good size water bottle so helps get you to drink more water throughout the day. These are available on the Love Island app. 

26 July 2017

Beauty Works Hair Extensions Review: 6 months on & how I maintain them

I've had a love for hair extensions since I was about 15 years old, and I think I always will. Clip-ins were always my go to, until December of last year when I decided I wanted something a bit more permanent. I decided to get bonded weft extensions after doing some research and speaking to others who already had them in. I went to a consultation at a salon that I had been following on Instagram for a while, and had heard such great things about them. I think it's important to feel confident about the salon and stylist you choose. At the consultation, me and the stylist chose a colour match, the thickness and length. Beauty Works Celebrity Choice was the brand and range that I chose. I already felt confident with the brand because for almost a year before I wore Beauty Works clip in extensions. I decided to have 120g of hair added, because personally I don't like super thick hair and find thinner hair easier to manage. I also wanted a more of a 'natural' look so that it would be difficult for people to tell whether or not I'm wearing extensions. As for length I chose 20 inches. I am a big fan of long hair! This is the second longest length that they do, the next up being 22 inch. 

The process of actually putting the extensions in took no more than about 45 minutes. I had 2 wefts applied, so more will take longer. The hair was sectioned and the micro-bonds applied to small sections of hair around the head. The wefts were then sewn into these bonds and around my head. I have to be honest, the process is a little uncomfortable as there is a lot of pulling of the hair and can sometimes hurt very slightly, but it's bearable. Below I will insert photos of how my hair looked immediately after having the extensions fitted: 


The better you maintain the extensions, the longer they're going to last. They can be pretty high maintenance, but if you want your moneys worth then it's worth doing. These type of extensions are supposed to last up to 9 months. For salon maintenance, you must get the wefts moved up every 4-6 weeks depending on how fast your hair grows. I roughly get mine moved up every 5 weeks. As for home maintenance, you'll need to plait the hair before you go to sleep every night. This is to stop the hair from matting. This can be super annoying, especially after a night out where the last thing you want to do is stand in the mirror brushing and plating your hair. And I have to admit, I don't do it every night religiously, but I do that majority of the time and it definitely makes a difference. The products I use to help maintain them is the Beauty Work Miracle Spray. I use this after the shower, when my hair is still wet. I also use it before putting heat on the hair and sometimes before bed and sleep with it in on the ends just to help bring back some moisture. Once a week I put a argon oil hair mask on to again help stopping the extensions from getting dry and breaking. For washing, I wash them once a week, sometimes twice if I feel like it's needed, but I try and stick to once. I wash them with the Beauty Works Shampoo and finish with the Beauty Works Conditioner. This is my hair after having a re-tighten at 4 weeks: 


I have now had the hair extensions fitted for 6 months. I have lost some thickness, which is to be expected. As for length, I would still say that they are long, if not still 20 inches. The hair is a lot more dryer and has definitely lost it's shine, but all this was expected from wearing extensions for so many years. For this first few days they can feel quite painful on your head and sleeping is uncomfortable, but this passes as you get used to them. I have inserted a photo below to show how they look now (obviously they aren't styled or anything here):


These type of extensions are an expensive commitment. I paid £250, this included the hair, application and styling. For maintenance move ups it is £40 every 4-6 weeks. All salon prices are different though, so best to speak directly to them. I would definitely recommend these extensions. I plan on having a break from them soon, but I will be going back to them as they've maintained so well over the last few months and are comfortable to wear. 

All products mentioned:
Extensions https://beautyworksonline.com/professional-extensions/weft-extensions/celebrity-choice-weft/20-celebrity-choice-weft.html

Miracle Spray https://beautyworksonline.com/haircare/hair-products/10-in-1-miracle-spray.html

Hair done at Mirror Mirror salon.